
Search News
Industry Portal
Hot Articles
How to set office lighting specifications that reduce screen glare
Time
Click Count
Screen glare is usually designed into an office before anyone notices it. A workstation can meet a target illuminance level and still create reflections that force people to tilt displays, close blinds, dim task areas, or work with uncomfortable contrast. A useful lighting specification for offices therefore needs to define the visual conditions around screens, not merely the amount of light delivered to the workplane.
Start by treating the display as a reflective surface with a preferred viewing direction. Direct light from a ceiling fitting, bright windows behind the screen, glossy desks, pale walls with strong sun patches, and luminous decorative features can all appear in the screen image. These sources produce different symptoms and need different controls. Raising or lowering the general light level will not correct all of them.
Write the brief around visual tasks and workstation geometry
Before selecting luminaires, establish where monitors, desks, partitions, windows, meeting displays, and circulation routes will actually sit. A reflected ceiling fitting may be harmless at one desk orientation and conspicuous when the desk is rotated by 90 degrees. This is why a generic reflected ceiling plan is an incomplete basis for glare control.
Identify the main screen-based tasks, including fixed desktop workstations, laptop touchdown positions, dual-monitor setups, reception desks, control rooms, and shared meeting spaces. Large wall-mounted displays deserve separate treatment: their viewing angles, screen finish, and mounting height differ substantially from a seated desktop screen.
The specification should require a coordinated furniture and lighting layout before final luminaire positions are released. If furniture remains unresolved, define a grid of permitted workstation orientations and reserve the right to adjust fittings within that grid. Leaving this decision until after ceilings are installed often turns a design issue into a costly commissioning exercise.
State the surfaces that influence reflections
Ceiling and wall reflectance affect both brightness distribution and screen reflections. A very dark ceiling can make suspended fittings appear as isolated bright objects, while a high-gloss white desk can reflect both daylight and overhead luminaires into the lower field of view. Matte or low-sheen desk finishes, controlled wall brightness, and non-specular workstation accessories reduce the number of reflection paths without lowering useful light.
Do not assume that a diffuser automatically solves the issue. A large luminous panel with a smooth diffuser may spread its brightness over a broad area, but it can still be visible in an angled screen. Likewise, a low-glare downlight may be acceptable in a circulation zone yet unsuitable directly above a monitor bank if its spacing and aiming create repeated reflected points.
Specify illuminance together with brightness balance
Illuminance is the light falling on a surface, commonly measured on the horizontal desk plane. It remains necessary for seeing paperwork, keyboards, handwritten notes, and faces, but it does not describe what the eye experiences across the room. Glare is driven by luminance: the apparent brightness of the light source, window, or reflected object compared with its surroundings.
Set the maintained desk illuminance to suit the actual mix of screen work and paper work, then state that this level must be achieved without excessive luminance contrast in the normal field of view. A space designed largely for digital work often performs better with balanced ambient illumination and localized support for occasional detailed paper tasks than with a uniformly bright ceiling intended to flood every desk.
Vertical illumination deserves attention as well. Faces, whiteboards, storage labels, and collaboration surfaces need enough light to be legible, yet indiscriminate upward or wall lighting can create bright wall areas behind screens. Place vertical light where it supports the task, and assess it from the seated viewing position rather than only from a lux-meter reading on the desk.
Averages can conceal local failures. A measurement grid may report the intended desk-level average while the seat nearest a window experiences a strong afternoon reflection and the seat under a luminaire sees a bright image across half the display. Include representative workstation positions in the acceptance review, particularly perimeter desks, end-of-row desks, and positions beneath fitting junctions.
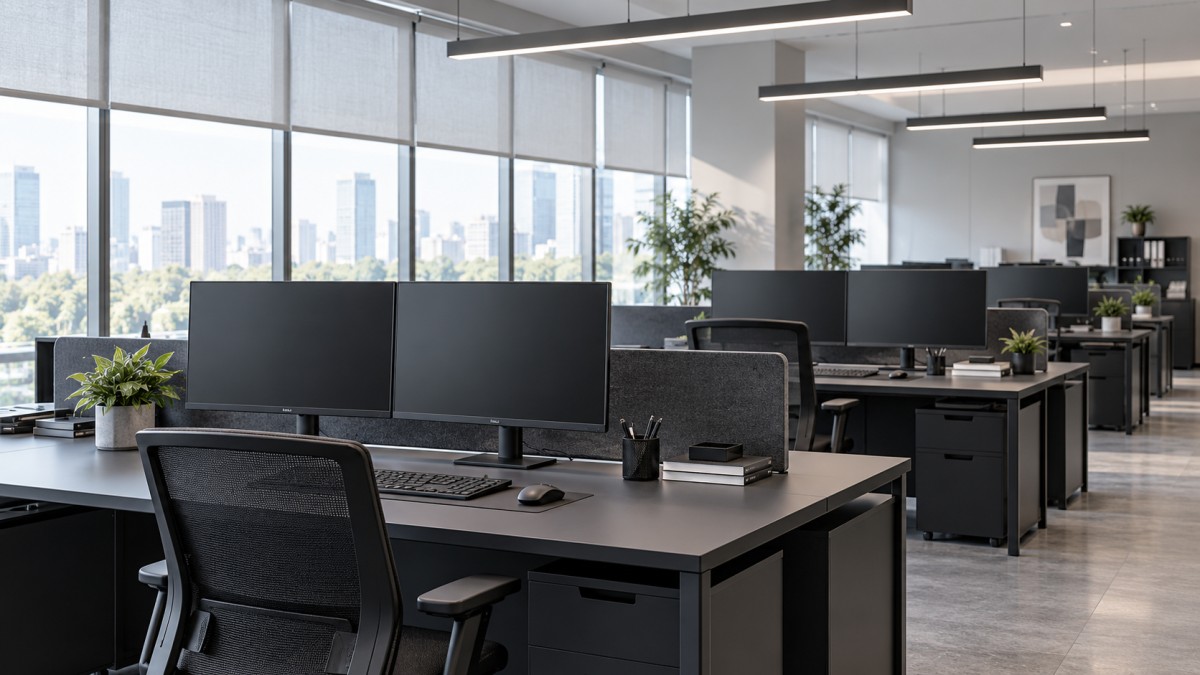
Choose optical distribution before fixture appearance
For screen-focused areas, select luminaires by their photometric distribution, shielding, spacing, mounting condition, and control compatibility. Product appearance, nominal wattage, and a headline lumen output are insufficient selection criteria. Request photometric files and calculate the installed layout with the proposed ceiling height, room surfaces, desk heights, and furniture locations.
Direct-indirect suspended luminaires can produce comfortable brightness when their downward component is well shielded and their upward component brightens the ceiling evenly. They are less forgiving where ceilings are very low, dark, highly textured, or interrupted by services. In those conditions, the upward component may produce patchy brightness or expose individual fittings as bright reflected elements.
Recessed linear luminaires can work well when their optics control high-angle brightness and their runs are laid out with monitor orientations in mind. Long continuous lines placed parallel to a row of displays can reflect as a strong stripe across screens. Rotating the workstation rows, shifting fixture lines, or changing the optical distribution may solve the problem more effectively than simply reducing output.
Wide-beam downlights and luminous ceiling systems require particular care near monitors. Their diffuse appearance can be visually pleasant in open collaboration areas, but broad bright overhead zones may still appear in tilted laptop screens. A mixed layout often works better: use restrained ambient light near fixed screens, then provide separately controlled light for shared tables, print points, and informal areas.
Use glare ratings as a filter, not a complete answer
A glare metric is useful for comparing compatible luminaires in a defined room geometry, but it should not substitute for a reflected-image review. The rating depends on observer position, surface properties, room dimensions, fitting location, and the calculation method. It is possible for a fitting to satisfy a stated glare criterion while reflecting objectionably in a specific glossy monitor or laptop display.
Write the requirement in two parts: specify the applicable glare limitation for the working area, then require visual verification from representative seated positions using the proposed monitor arrangement. This prevents a submission from being accepted on a catalogue value alone. Where the visual task is especially sensitive, request luminance data at the relevant high viewing angles and include it in the technical submittal.
Daylight needs its own control strategy
Daylight is often the dominant cause of screen discomfort, even in a well-designed electric lighting scheme. The problem is not simply a sunny window. A bright overcast sky, a nearby glazed facade, pale paving, water, or a neighboring reflective building can create a broad high-luminance field. Blackout blinds remove the symptom but also remove useful daylight and exterior connection.
Locate fixed monitors so windows are preferably to the side rather than directly in front of or behind the screen. Side lighting still needs review because low-angle sun can arrive from an oblique direction and strike the display. In deep-plan offices, do not place screens based solely on a typical furniture plan; test the perimeter rows against seasonal sun directions and the actual shading geometry.
Specify adjustable shading by facade orientation and window type. A single fabric choice will not perform identically on every elevation. The selected system needs to limit direct sun and reduce excessive window brightness while preserving enough outward view for normal occupancy. Its openness, color, mounting gap, guide method, and ability to stop at intermediate positions affect the result. Loose roller shades that leave bright strips at the sides can be more distracting than a slightly darker, well-fitted system.
Daylight-linked dimming should respond gradually and by zone. A sensor placed where it receives direct sun or is blocked by a partition will cause unstable behavior. Divide control zones according to daylight reach and facade conditions rather than using one sensor for an entire open floor. The control sequence should retain a stable ambient base level, especially where daylight changes rapidly, so displays are not viewed against a room that repeatedly swings from dim to bright.
Set color quality and controls for visual stability
Color temperature does not directly determine glare, but it changes how bright and stark a room feels. A moderate, consistent white-light appearance is generally easier to integrate across desk areas, meeting rooms, and circulation spaces than abrupt shifts between very warm and very cool sources. State the required correlated color temperature range or nominal target, along with acceptable color consistency between fittings. Mixed bins, replacement lamps with a different appearance, or mismatched emergency units can make a completed space look uneven even when light levels are correct.
Color rendering should support printed materials, skin tones, cable identification, and finishes without becoming an isolated procurement number. Require the submitted luminaires to maintain the intended color quality through the dimming range where that behavior matters. Some drivers and control combinations alter perceived color or create visible flicker at low output, which can be noticed on camera as well as by occupants.
Specify dimming performance rather than merely requesting “dimmable” fittings. The submittal should identify the control protocol, compatible driver, minimum dimming level, fade behavior, default power-restoration state, and local override arrangement. Smart controls are useful when they preserve visual consistency. A motion sensor that abruptly switches a nearby lighting zone from off to full output can create a sudden screen reflection; occupancy logic should use appropriate hold times and fade transitions.
- Group luminaires by the daylight condition they serve, especially along facades and beneath skylights.
- Keep screen work zones independently adjustable from presentation walls and collaboration tables.
- Define a predictable scene for cleaning, security, and out-of-hours work so maintenance activity does not alter normal settings.
- Require manual scene recall where room layouts change frequently; automatic settings cannot anticipate every temporary screen position.
Turn the design intent into installable requirements
Glare performance can be lost during value engineering or site installation. Substituting a luminaire with similar output but different optics, replacing a low-reflectance desk top, moving a fitting around ductwork, or installing a shade outside its intended reveal can change the result. The specification should identify which elements are performance-critical and require review before substitution.
Include aiming, alignment, and cleanliness in the installation requirements. A suspended fitting that is slightly rotated may place a bright line directly in a screen reflection. Dust, protective film residue, and inconsistent diffuser orientation can create visible variation. Where adjustable luminaires are used, record final aiming positions after commissioning rather than relying on an unverified installation angle.
Commissioning should be conducted with daylight controls, blinds, and task-area settings operating as intended. Confirm measured illuminance after the room is furnished, then inspect representative screens with dark and light content displayed. A black screen is useful for locating reflected luminaires; a normal document or application view reveals whether contrast remains comfortable under routine use. Review the space at more than one daylight condition when the facade is a material source of glare.
Make correction pathways explicit: adjust control zoning and output first, then review furniture orientation, shade settings, luminaire position, and optics. Screen brightness should be calibrated only after the room conditions are reasonable. Increasing monitor brightness to overpower reflections may mask a poor lighting condition while creating an unnecessarily bright near-field task.
A durable office specification describes the relationship between light, screens, finishes, furniture, and daylight. When those relationships are documented before procurement and verified after installation, glare control becomes a measurable design outcome rather than a complaint handled after occupancy.
- Last One:No more articles
- Next Article:How preload loss can affect high-strength fasteners for bridgesOct 01, 2026
Recommended News